
What is Map Production Pro?
Quick Reference Guide
Tool Controls
Map Production Pro Toolbar
![]() Map Production
Map Production
![]() Export to Images
Export to Images
![]() Create PGW World File
Create PGW World File
Map Production Pro Tools
![]() Create Layout
Create Layout
![]() Clear Graphics
Clear Graphics
![]() Print to PDF
Print to PDF
![]() Cancel
Cancel
Map Production Pro Interface Sections
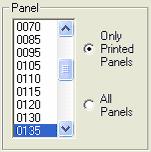
Panel
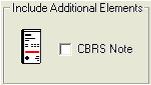
Include Additional Elements
Logo Style
Frame Style
Frame Size
Date
Page Orientation
Initial Countywide Date
Base Map Note
![]() Export to Image
Export to Image
![]() Create PGW World File
Create PGW World File
PDF Export Toolbar
![]() PDF Export
PDF Export
Trouble – Shooting
Contacts
Map Production Pro is a tool that automates production of DFIRM and LOMR panels once a DFIRM database has been completed. This tool will render all features on the selected panel, load the appropriate annotation layers, and automatically generate tables needed for the DFIRM index. There are several options that are available to users, allowing for the customization of the layout according to the characteristics of the panel. These panel elements meet FEMA’s FIRM layout standards, which are described in FEMA’s April 2003 Guidelines and Specifications for Flood Hazard Mapping Partners Appendix K: Format and Specifications for Flood Insurance Rate Maps.
The following is a quick reference guide to all of the components of Map Production Pro. You can prepare DFIRM or LOMR panels for printing, export layouts to image format, and create PGW World files.
|
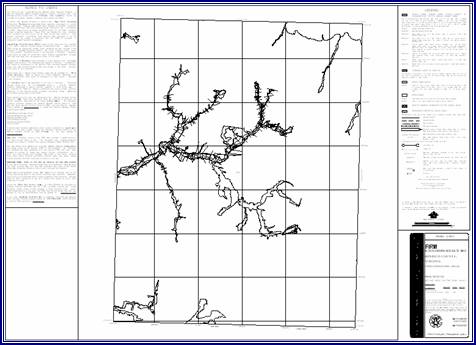
Create a DFIRM panel |
 |
The Frame Style and Frame Size are set for the DFIRM panel and cannot be modified. |
|
|
||
|
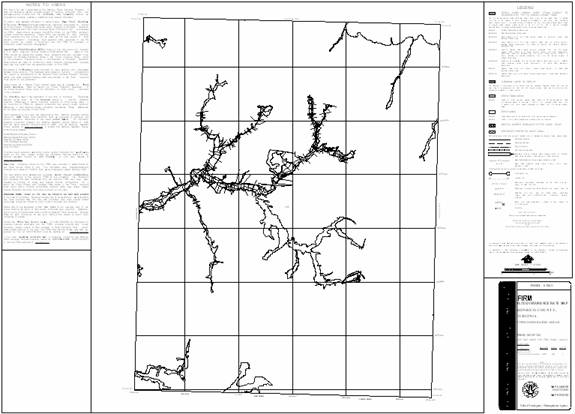
Create a LOMR panel |
 |
Choose the title block style |
![]()
|
|
Map Production | Create DFIRM and LOMR panels |
|
|
Export to Image | Export DFIRM layouts to image formats |
|
|
Create PGW World File | Create PGW World file for exported .pngs |
Now that you are ready to print DFIRM panels, you will need to know how to create them using Map Production Pro and export your layouts to image files.
|
|
| Map Production Pro Toolbar |
Displays the tools and options available for printing DFIRM and LOMR FIRM panels.
Exports DFIRM layouts to 400 dpi images. Vector-based layouts are exported to .eps and .tiff format, and raster-based layouts are exported to .eps, .tiff, and .png formats.
Creates PGW World file for the exported .png.
|
|
| Map Production Pro Tools |
View the FIRM panel layout. The layout will be generated for the selected panel and the view will be switched to “Layout.”
Note: Hide any suppressed text before printing the panel. Turn off the annotation layer in the table of contents that ends with the _SUP suffix.
After previewing a panel remove all graphics from the layout page before previewing another panel.
Print the selected panel to PDF. The panel will be printed with the following naming conventions
For LOMRs: L(CID)_(Panel#).pdf = L06063C_0225.pdf
For DFIRMs: D(CID)_(Panel#).pdf = D06063C_0225.pdf
Use the PDF Export tool to download the PDF to your local drive for printing or archiving. Refer to page 12 of this user guide for more information on this tool.
Note: Hide any suppressed text before printing the panel. Turn off the annotation layer in the table of contents that ends with the _SUP suffix.
Cancel out of Map Production Pro.
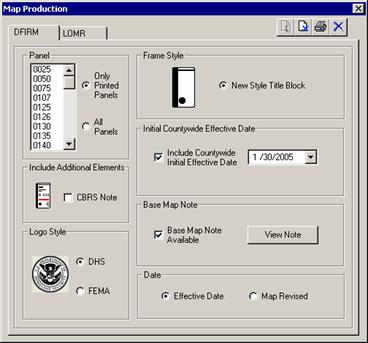
A brief description of each of the sections contained in the Map Production interface is provided below. The options, in each section, may vary between the DFIRM and LOMR tab.
Tip: Before previewing a panel, run the Render Using VVT Symbology tool on the PLTS Symbology and QA toolbar.
Select a panel number from the list. You can choose to view the Printed Panels only or All Panels in the FIRM Panel Index.
| DFIRM panel | LOMR panel |
 |
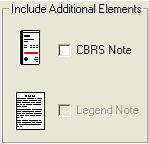 |
CBRS Note
If the map panel is in a location for which a Coastal Barriers Resource (CBRS) note would be
appropriate, check the box. The note will be added to the Title Block, in the location indicated
by the red horizontal line shown in the icon next to the CBRS Note checkbox.
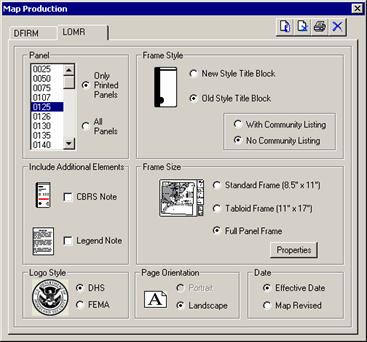
Legend Note
This option is available only when you are creating a full size LOMR panel with the Old Style frame.
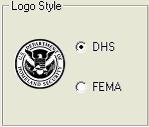
Choose to display the DHS or FEMA logo in the Title Block.
Guidelines:
| DFIRM panel | LOMR panel |
 |
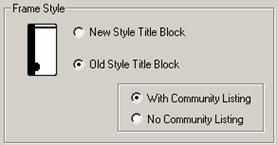 |
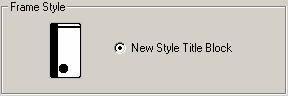
The frame style for DFIRM panels is set and cannot be modified. For LOMR panels, you can use the New Style Title Block or the Old Style. The New Style will always include a community listing. If you are printing the LOMR at full size and use an Old Style title block, you should show the community listing for a countywide and omit it for a single jurisdiction.
| LOMR panel |
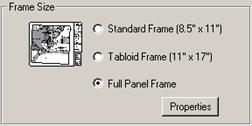 |
The frame size for DFIRM panels is set and cannot be modified. There are several options for printing LOMR panels. If you choose to print a Full Panel Frame, you will have additional options for page dimensions. Click on the Properties button to select the dimensions.
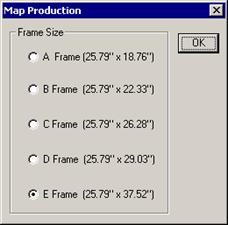 |
| LOMR panel frame size options available |
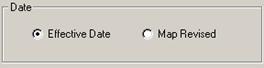
Select to show the Effective Date or the Map Revised date.
| LOMR panel |
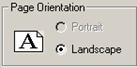 |
Select a Portrait or Landscape orientation for a LOMR panel. DFIRMs are printed in landscape orientation only.
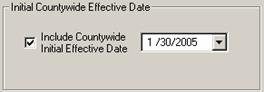
Select to show the initial countywide date on the DFIRM panel. This option will only be available for countywide studies. Upon checking this box, if there is a date in the corresponding table, it will be displayed for the user, who can then edit it if necessary. Once the user previews a panel, any changes made in the date window will be committed to the appropriate table in the geodatabase.
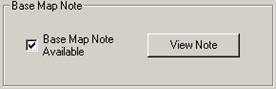
This will allow the user to view, add, or update the base map note for the panel. This option only appears on the DFIRM tab. When the user clicks on the “View Note” button, the following dialog appears:
Upon selecting View Note, if there is a base map note in the corresponding table, it will be displayed for the user, who can then edit it if necessary. Once the user previews a panel, any changes made in the base map note window will be committed to the appropriate table in the geodatabase.
If working on a LOMR, the user will have to switch to the DFIRM tab to enter/edit base map note information.
Note: This tool can only export ANSI E size layouts to image files.
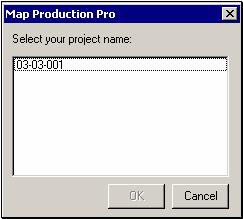
|
| Project Selection dialog |
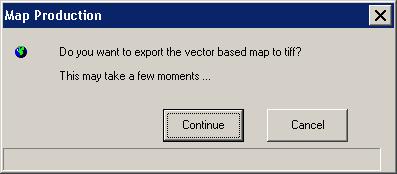 |
| Confirm exporting vector -based layout to .tif |
Note: Clicking Continue will export the vector-based layout to both .eps and .tiff image formats. The layout will be exported to 400 dpi resolution for both image files.
|
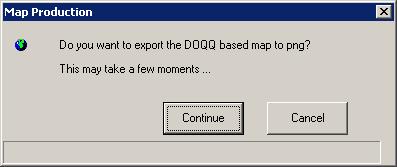
| Confirm exporting raster-based layout to .png |
Note: Clicking Continue will export the raster-based layout to .eps, .tiff, and .png image formats. The layout will be exported to 400 dpi resolution for all image files.
Note: There are two requirements of this tool. First, a .tif and .trw file must exist for the same layout which you are creating the .pgw for. Second, you must have previously created a .PNG file with the Export to Image button.
|
|
| Project Selection dialog |
![]()
Once you have printed your selected panels to PDF, you can retrieve and save them to a local drive or server using the PDF Export Tool. You can print the PDF work maps to your local plotter, share them electronically, or store them in an archive.
Allows users to download single or multiple PDF files. Use this tool after printing panels to PDF using Map Production Pro’s Print feature.
Problem: Features appear outside of the map frame in Layout view.
Solution: Make sure that the FIRM PANEL feature class is turned on in the table of contents — these features act as a mask, covering all features outside of the panel that you have selected.
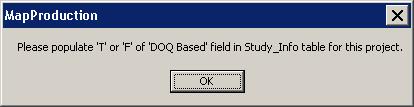
Problem: Message appeared when I tried to export a layout to image files.
|
| Populate DOQ_BASED field in Study_Info table with ‘T’ or ‘F’. |
Solution: The value in the field DOQ_BASED in the Study_Info table determines to which image formats the layout will be exported. Only ‘T’ and ‘F’ are appropriate values, in order to export the layout(s) format. To edit the DOQ_BASED value in the Study_Info table, use the DFIRM Layer Data Loader tool to add the Study_Info table to your project. Enter an editing session, select the record in the Study_Info table, and use the Attribute Selected Features tool on the GeoPop toolbar to edit the DOQ_BASED value in the Study_Info table. Once you have saved the edits to the table, stop editing, and start exporting your layout again.
Problem: Message appeared when I opened an ArcMap session and tried to export a layout to image files.
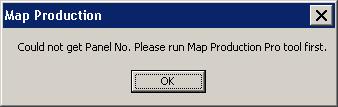 |
| Could not retrieve panel number. |
Solution: The steps are being conducted out of order. Click on “Map Production” to prep a DFIRM layout for printing first, and then, click “Export to Image”.
Problem: Message appeared when I tried to create a PGW World file.
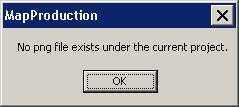 |
| PNG file does not exist. |
Solution: A .png file must exist for the layout in order for a .pgw file to be created. To create a .png file, make sure that the field DOQ_BASED in the Study_Info table in “T”, then click the Export to Image button.
Problem: Message appeared when I tried to create a PGW World file.
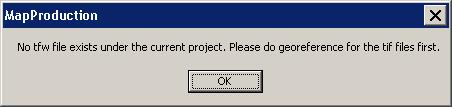 |
| TFW file does not exist. |
Solution: The .tiff file must be geo-referenced in order for a .pgw file to be created for the .png image. Geo-reference the .tiff, and then create the PGW World file. This tool requires a geo-referenced .tiff image and .trw file that is of the same layout for which you are creating a .pgw file.
If you need assistance with this tool, please contact the representative at your local RMC.
| NAME | ROLE | PHONE | |
|---|---|---|---|
| REGION I | |||
| Brent McCarthy | Lead | Brent.McCarthy@mapmodteam.com | (336) 240-7339 |
| Jeffrey Burm | GIS/Mapping | JeffBurm@mapmodteam.com | (517) 482-4930 x4752 |
| REGION II | |||
| Rich Cassin | Operations Manager | Rich.Cassin@mapmodteam.com | (914) 333-5366 |
| Michael Crino | GIS/Mapping | mcrino@mbakercorp.com | (718) 482-9945 |
| REGION III | |||
| Mike Conaboy | Operations Manager | mconaboy@mbakercorp.com | (609) 734-7922 |
| Lee Brancheau | Senior GIS Manager | lbrancheau@mbakercorp.com | (609) 734-7912 |
| REGION IV | |||
| Stephen King | Operations Manager | Stephen.King@mapmodteam.com | (678) 459-1010 |
| Kagan Kuyu | GIS/Mapping | Kagan.Kuyu@mapmodteam.com | (678) 459-1041 |
| REGION V | |||
| Sujata Banerjee | Business Manager | Sujata.Banerjee@mapmodteam.com | (312) 575-3902 |
| Pam Coye | GIS/Mapping | Pam.Coye@mapmodteam.com | (312) 575-3913 |
| REGION VI | |||
| Dan Hoecker | Operations Manager | Dan.Hoecker@mapmodteam.com | (940) 783-4155 |
| Phil Nguyen | GIS/Mapping | pxnguyen@mbakercorp.com | (940) 783-4121 |
| REGION VII | |||
| Matthew Koch | Operations Manager | mkoch@watershedconcepts.com | (816) 502-9420 x4952 |
| Rod Odom | GIS/Mapping | rodom@watershedconcepts.com | (816) 502-9420 x4957 |
| REGION VIII | |||
| David Jula | Operations Manager | David.Jula@mapmodteam.com | (720) 514-1100 |
| Mike Garner | GIS/Mapping | Mike.Garner@mapmodteam.com | (720) 514-1105 |
| REGION IX | |||
| Travis Clark | Business Manager | Travis.Clark@mapmodteam.com | (510) 879-0950 |
| Michael Skowronek | GIS/Mapping | Michael.Skowronek@mapmodteam.com | (510) 879-0958 |
| REGION X | |||
| Michael Morgan | Business Manager | Mike.Morgan@mapmodteam.com | (206) 344-3891 |
| Timothy Witten | GIS/Mapping | wittentd@bv.com | (206) 344-3891 |